Appliance troubleshooting tips can save homeowners time, money, and unnecessary stress when a refrigerator stops cooling or a washer refuses to spin. Every household appliance shows warning signs before it fails completely, and knowing what to check first often prevents a small glitch from becoming an expensive repair. In fact, many service calls turn out to be simple fixes a homeowner could have solved in minutes. This guide walks through practical, step-by-step tips for major appliances, explains when a problem is safe to handle yourself, and clarifies when it’s time to call a professional.
Quick answer: Appliance troubleshooting tips are simple, ordered checks—starting with power, settings, and blockages—that help you find the cause of a malfunction before calling a repair technician. Following them in order resolves many common issues without any tools or technical background.
What Are Appliance Troubleshooting Tips?
Appliance troubleshooting tips are structured, step-by-step checks that help homeowners identify why a machine such as a refrigerator, washer, or oven is malfunctioning before scheduling professional repair. These tips typically start with the simplest, safest checks—like power supply, settings, or filters—and move toward more technical diagnostics. Consequently, following them in order often resolves minor issues in under thirty minutes.
Because appliances share many mechanical and electrical similarities, the same basic logic applies across brands and models. For example, a dryer that won’t heat and an oven that won’t ignite often share a related root cause: a faulty heating element or ignition component. Therefore, learning a general troubleshooting approach benefits nearly every appliance in the house.
Why Basic Appliance Diagnostics Matter
According to the U.S. Department of Energy, refrigerators alone can account for roughly 13% of a home’s electricity use, and small performance issues—like dirty coils or a failing seal—can push that number even higher. As a result, catching minor faults early doesn’t just prevent breakdowns; it also keeps utility bills in check.
In addition, basic diagnostics reduce unnecessary repair calls. Many technicians report that a meaningful share of service visits involve issues homeowners could have resolved themselves, such as a tripped breaker or an overloaded washer. Similarly, understanding your appliance’s warning signs helps you describe the problem accurately when you do need professional help, which speeds up the visit.
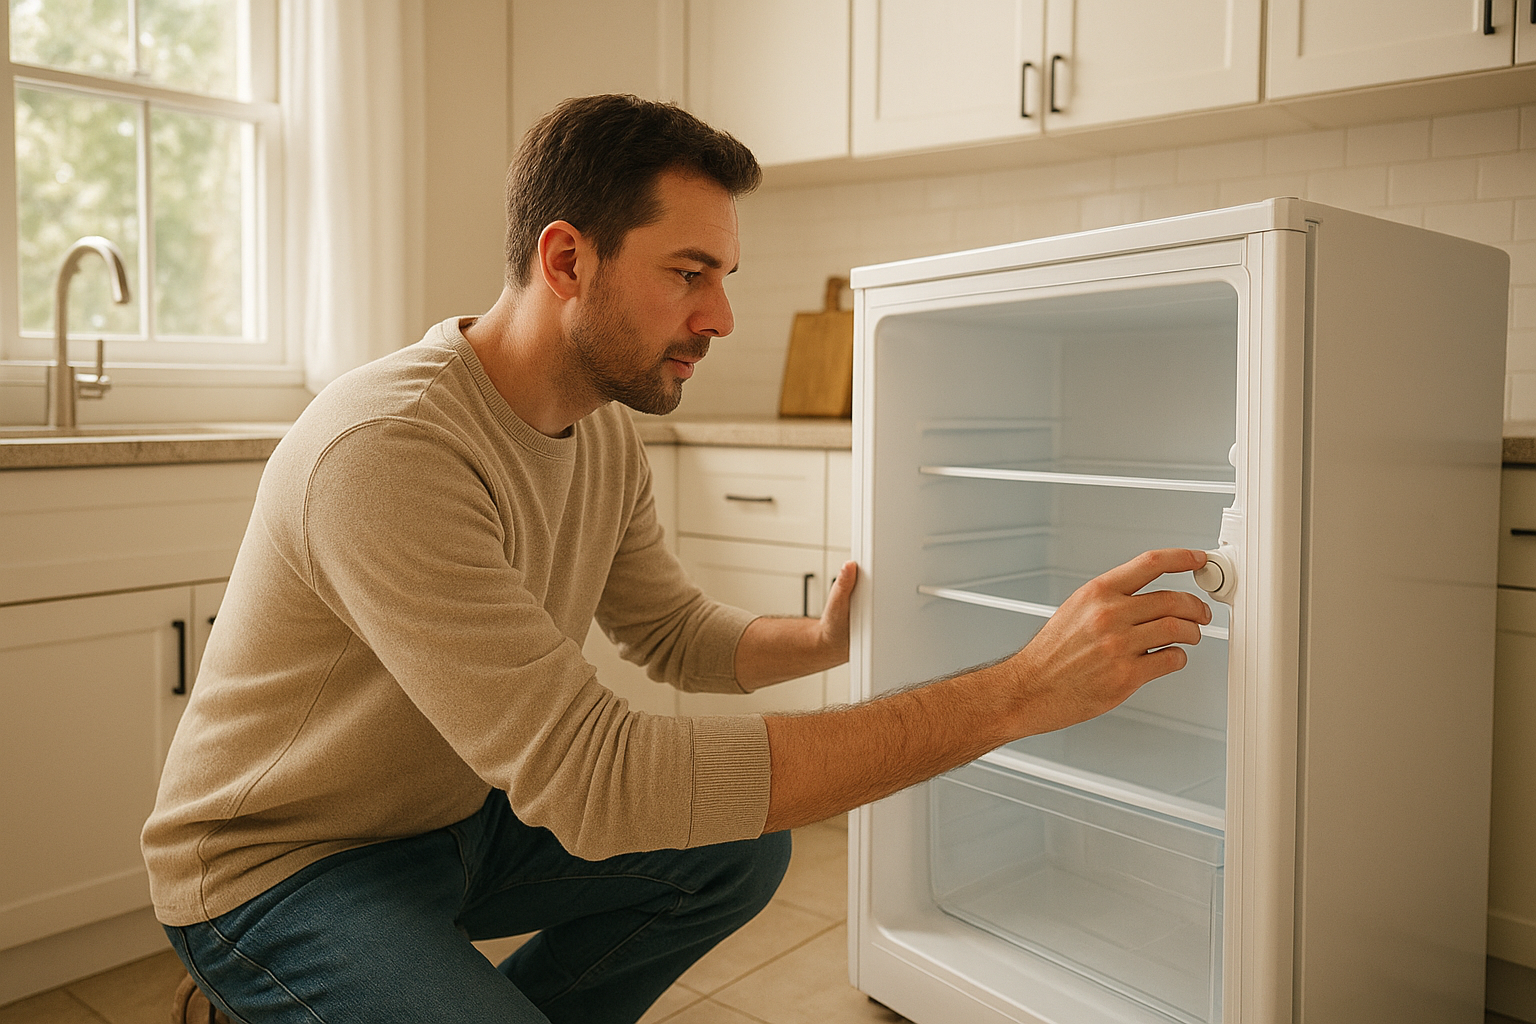
Simple appliance troubleshooting tips, like checking the temperature dial, often resolve cooling issues quickly.
Essential Appliance Troubleshooting Tips for Common Problems
Every appliance has its own quirks, but the troubleshooting process usually follows a similar path. Below are practical tips organized by appliance type, starting with the checks that solve problems most often.
Refrigerator Troubleshooting Basics
If your fridge isn’t cooling, first check that the vents inside aren’t blocked by food items, since airflow restriction is a leading cause of uneven cooling. Next, inspect the condenser coils on the back or underneath the unit; dusty coils force the compressor to work harder and can eventually cause failure. For more detailed steps specific to local climate and humidity conditions, our refrigerator troubleshooting guide for Santa Rosa homes covers additional seasonal factors.
Washer and Dryer Diagnostic Tricks
When a washer won’t spin, check for an unbalanced load first, since modern machines often pause the cycle to protect the drum. Meanwhile, a dryer that runs but doesn’t heat frequently has a clogged lint trap or blocked exhaust vent. If the drum turns but clothes stay damp, that’s usually a venting issue rather than a motor problem. For guidance on deciding between fixing or replacing an aging unit, see our article on whether it’s worth repairing or replacing a broken washer.
Dishwasher Problem-Solving Steps
Cloudy glasses or dirty dishes after a full cycle usually mean the spray arm holes are clogged with mineral deposits or food debris. Consequently, removing the spray arm and rinsing it under warm water often restores full pressure. Our detailed dishwasher malfunction solutions guide breaks down fixes for drainage, odor, and door latch issues as well.
Oven and Stove Troubleshooting Advice
An oven that won’t heat may have a failed igniter, a tripped thermal fuse, or a miscalibrated thermostat. However, any repair involving the gas supply line or burner assembly should always be handled by a licensed technician, since improper handling creates real safety risks. If you notice a gas smell at any point, stop troubleshooting immediately and contact a professional.
How to Troubleshoot Any Appliance in 5 Steps
Regardless of the appliance, following a consistent process makes diagnosing problems far less overwhelming. Here’s a straightforward sequence to follow before calling for repair.
- Check the power source. Confirm the unit is plugged in, the outlet works, and no breaker or fuse has tripped.
- Review settings and controls. Double-check cycle selections, delay timers, and child lock features, since these often mimic mechanical failure.
- Inspect for blockages or buildup. Look for clogged filters, blocked vents, or debris in drains and spray arms.
- Listen and observe a test cycle. Run a short cycle and note unusual noises, error codes, or smells that point to the source.
- Consult the manual or call a technician. Compare findings against the manufacturer’s troubleshooting chart, and reach out to a professional if gas, refrigerant, or wiring is involved.
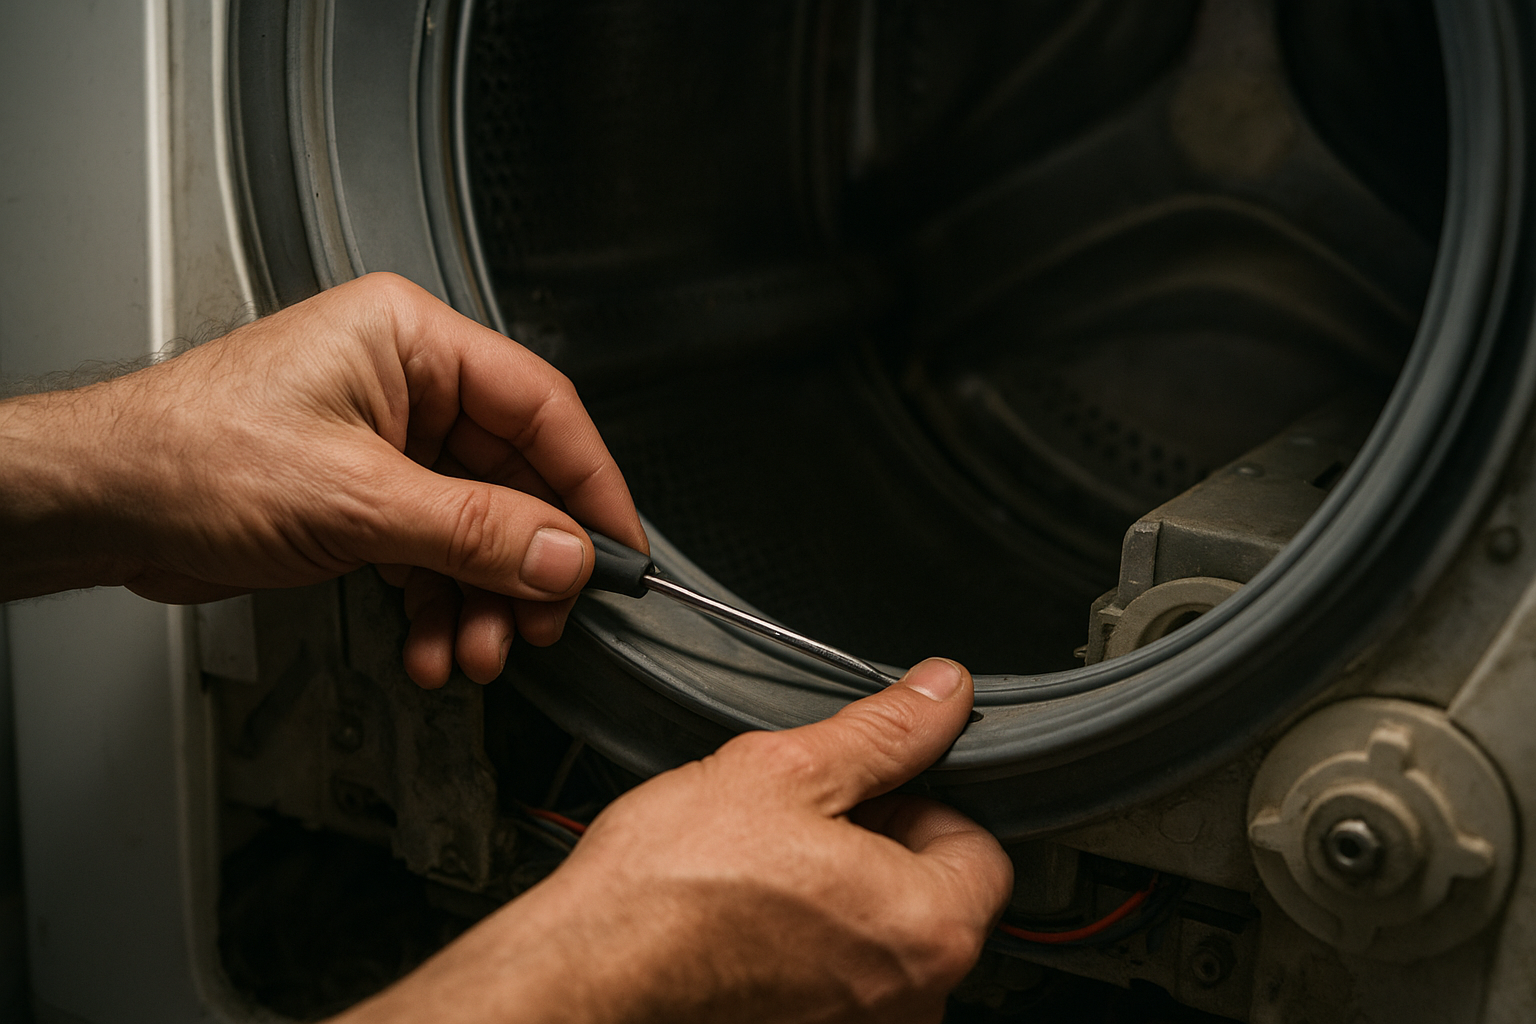
A methodical, step-by-step approach is at the heart of every reliable troubleshooting process.
When to Call a Professional for Appliance Repair
Some problems fall outside the scope of safe DIY diagnostics. Above all, any issue involving gas lines, refrigerant, or exposed wiring warrants an immediate call to a licensed technician. Similarly, if an appliance trips the breaker repeatedly or you smell burning, stop testing and disconnect the power.
For homeowners throughout Sonoma County, having a trusted local expert on call makes this decision easier. Our team at Sonoma County appliance repair services offers fast, honest diagnostics when a DIY fix isn’t enough, and you can review broader home repair options in our Santa Rosa home repair guide as well. According to the general overview of home appliances on Wikipedia, modern units combine mechanical, electrical, and sometimes electronic systems, which is exactly why some failures require specialized tools to diagnose safely.

Knowing when to stop troubleshooting and call a professional protects both safety and your appliance’s warranty.
Frequently Asked Questions About Appliance Troubleshooting Tips
What are the most useful appliance troubleshooting tips for beginners?
The most useful appliance troubleshooting tips for beginners are checking the power source, confirming settings are correct, and inspecting for obvious blockages before assuming a major failure. These simple checks solve a surprising number of household appliance complaints.
Why is my refrigerator not cooling properly?
A refrigerator often stops cooling because of dirty condenser coils, a blocked vent, or a thermostat set incorrectly. Cleaning the coils and checking airflow usually restores normal cooling within a few hours.
How do I troubleshoot a washer that won’t spin?
Start by checking for an unbalanced load, a stuck lid switch, or a clogged drain hose. If the washer still won’t spin after redistributing the load, the drive belt or motor coupling may need professional inspection.
What causes a dishwasher to leave dishes dirty?
Dirty dishes after a wash cycle usually point to a clogged spray arm, low water temperature, or overloading the rack. Clearing the spray arm holes and checking water temperature often fixes the issue immediately.
Is it safe to troubleshoot a gas oven myself?
Basic checks like verifying the igniter clicks or the pilot light stays on are safe for most homeowners. However, any repair involving the gas line or burner assembly should be left to a licensed technician.
How much does appliance troubleshooting typically save compared to a service call?
Successful DIY troubleshooting can save the cost of a diagnostic visit entirely, since many service calls run $75 to $150 just to identify the problem. Even when a technician is still needed, describing what you’ve already checked speeds up the repair.
What is the difference between troubleshooting and repairing an appliance?
Troubleshooting is the process of identifying why an appliance isn’t working, while repairing involves fixing or replacing the faulty part. In practice, troubleshooting always comes first because it determines what repair, if any, is actually needed.
How long does basic appliance troubleshooting take?
Most basic troubleshooting steps take between 10 and 30 minutes, depending on the appliance and how accessible the components are. Refrigerator and dishwasher checks tend to be quicker than dryer or oven diagnostics.
What are common mistakes people make when troubleshooting appliances?
Common mistakes include skipping the power source check, ignoring the owner’s manual, and attempting electrical or gas repairs without proper knowledge. These mistakes can waste time or create safety hazards.
When should I stop troubleshooting and call a professional?
Stop troubleshooting and call a professional if you smell gas, see sparking, notice burning odors, or the appliance still fails after basic checks. Continuing to test electrical or gas components without training increases the risk of injury.
Do dryers need regular maintenance to avoid breakdowns?
Yes, dryers need lint trap cleaning after every load and vent cleaning at least once a year to prevent overheating and fire risk. Neglecting this maintenance is one of the leading causes of dryer breakdowns.
Can appliance troubleshooting tips help extend an appliance’s lifespan?
Regularly applying appliance troubleshooting tips helps catch small issues before they cause bigger mechanical damage, which extends the appliance’s overall lifespan. Preventive checks are far cheaper than premature replacement.
What tools do I need for basic appliance troubleshooting?
A flashlight, a multimeter, a screwdriver set, and the appliance’s owner manual cover most basic troubleshooting needs. More advanced diagnostics may require specialized tools a technician already carries.
Final Thoughts on Appliance Troubleshooting Tips
In summary, appliance troubleshooting tips give homeowners a practical starting point before assuming the worst about a malfunctioning machine. From checking power and settings to inspecting for blockages, these simple steps resolve many common problems without a service call. Nevertheless, safety always comes first—gas, electrical, and refrigerant issues call for a trained technician rather than guesswork.
If your appliance still isn’t working after trying these steps, the team at Goldridge Appliance serves Santa Rosa and greater Sonoma County with fast, honest, and transparent repair service. Booking a visit online takes just a few minutes, so you can get back to a fully functioning kitchen or laundry room sooner rather than later.
