
Washer dryer installation is more than sliding new machines into place and hoping everything works. Homeowners across Santa Rosa often assume any delivery crew includes a proper setup, but that is rarely the case. In reality, connecting water lines, leveling drums, and venting exhaust safely all require careful attention. Consequently, a rushed job can lead to leaks, vibration damage, or even fire hazards from blocked dryer vents. This guide walks through what washer dryer installation involves, how professionals handle the process step by step, and what local homeowners should budget for the job.
Whether you are replacing an aging unit or setting up a first laundry room, understanding the fundamentals helps you avoid costly mistakes later. If you would rather skip the guesswork, Gold Ridge Appliance’s washer dryer installation services in Santa Rosa can handle the entire process for you.
What Is Washer Dryer Installation?
Direct answer: Washer dryer installation is the process of positioning, connecting, and testing a washing machine and clothes dryer so they operate safely and efficiently in a home. It typically includes water supply lines, a drain hose, an electrical or gas connection, and a dryer exhaust vent, along with leveling each appliance before first use.
In practice, this definition covers more ground than most people expect. For example, a washing machine needs a grounded outlet, properly sized hoses, and a drain that can handle the water volume of a full cycle. A dryer, on the other hand, needs either a dedicated 240-volt circuit or a gas line, plus a vent path that lets moist air escape outside. Because both appliances vibrate and generate heat, small setup errors tend to show up quickly as leaks, noise, or slow drying times.
Why Professional Washer and Dryer Setup Matters
Some homeowners try a DIY hookup to save money, and that can work fine for a simple electric dryer swap. However, the stakes rise quickly once gas lines, tight closets, or stacked units enter the picture. In particular, a blocked or crushed dryer vent is a genuine safety concern, not just an inconvenience.
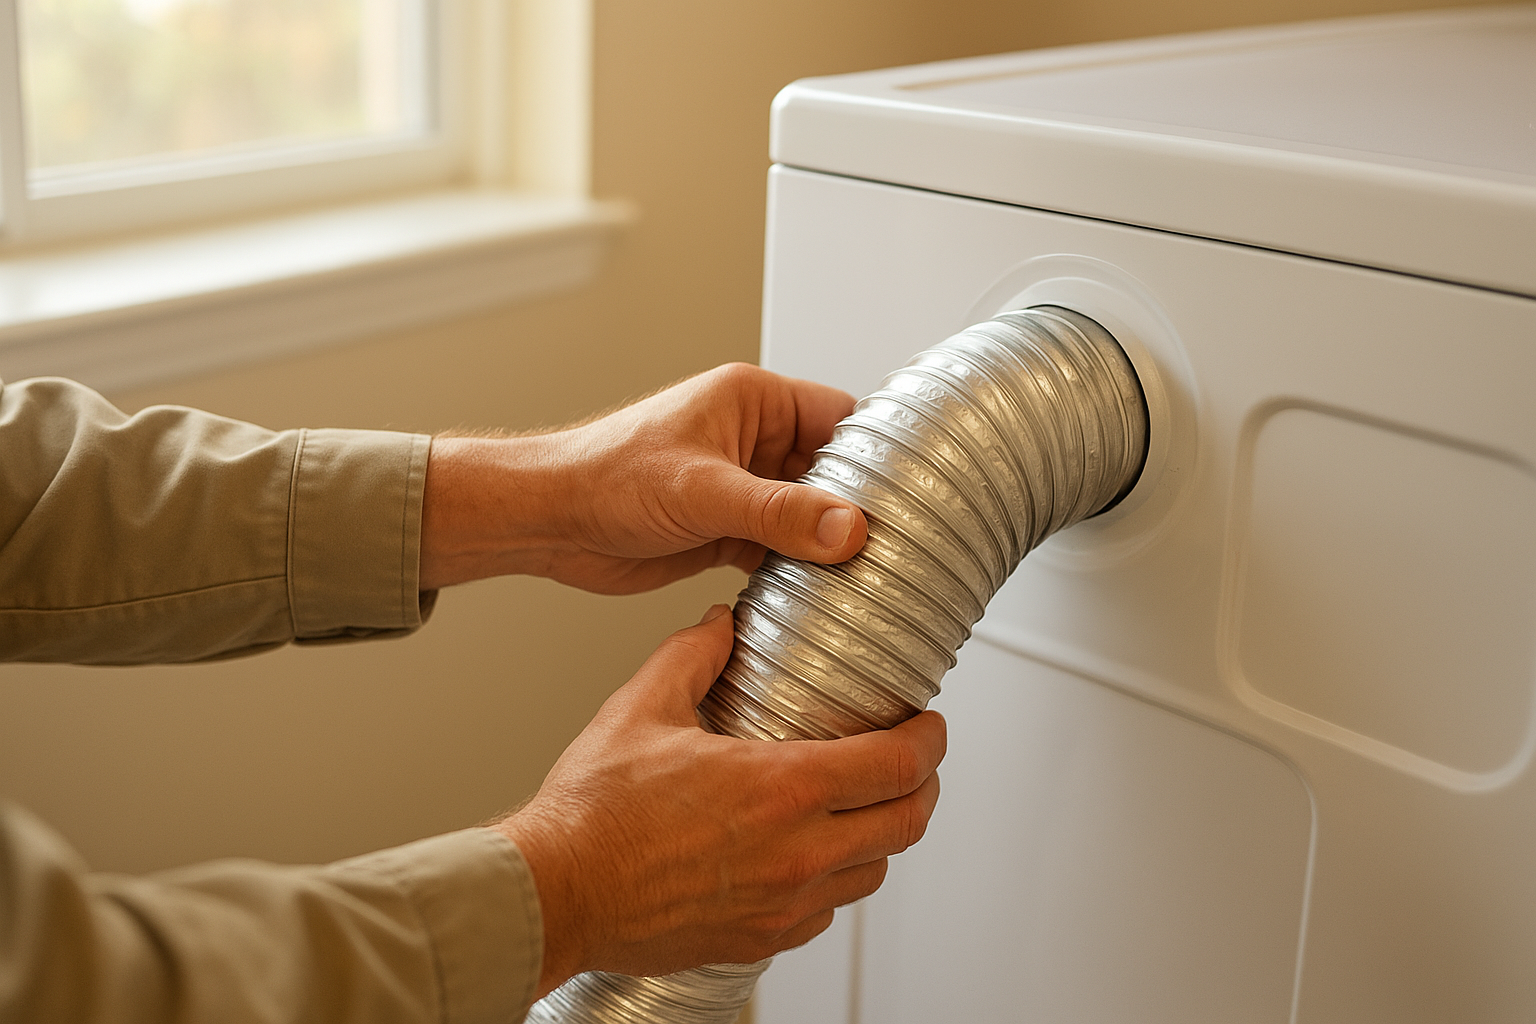
Correct venting is one of the most important steps in any washer dryer installation.
According to the U.S. Consumer Product Safety Commission, clogged or damaged dryer vents contribute to thousands of home fires every year. Similarly, the ENERGY STAR program notes that restricted venting can cut dryer efficiency significantly, which drives up utility bills over time. Beyond safety, professional installation also protects manufacturer warranties, since many brands require documented setup by a qualified technician for coverage to remain valid. As a result, paying for proper installation often costs less in the long run than fixing water damage or a voided warranty claim later.
Step-by-Step Laundry Appliance Installation Process
Every reliable washer dryer installation follows a similar sequence, whether it is handled by a homeowner or a licensed technician. Below is the process broken into manageable steps.
- Measure the space and appliances. Confirm the laundry area’s width, depth, and door clearance against the new washer and dryer dimensions so both units fit with room to open lids and doors fully.
- Prepare utility connections. Inspect the water shutoff valves, drain standpipe, outlet or gas line, and vent opening to make sure everything is in good working condition before moving appliances into place.
- Position and level the machines. Slide each appliance into its final spot, then adjust the leveling feet until a bubble level shows even balance in every direction.
- Connect water supply and drain lines. Attach fresh braided hoses to the hot and cold valves, then secure the drain hose into the standpipe so it cannot slip loose during a spin cycle.
- Connect power or gas and the dryer vent. Plug in the dedicated outlet or connect the gas line with proper fittings, then attach rigid venting and secure every joint with clamps.
- Test run and inspect for issues. Run a short wash and dry cycle while checking connections for leaks, unusual noise, or restricted airflow, then adjust anything that seems off.
Common Mistakes in New Washer and Dryer Hookups
Even careful homeowners run into avoidable problems during a new hookup. Skipping the leveling step is one of the most frequent mistakes, since an unbalanced washer can walk across the floor during high-speed spin cycles. In addition, using old or mismatched water hoses is risky because rubber hoses degrade over time and can burst under pressure.
Kinked or crushed vent hose is another recurring issue, particularly in tight laundry closets. Furthermore, plugging a dryer into a shared or undersized circuit can trip breakers repeatedly or, worse, create a fire risk. Homeowners dealing with an older machine sometimes wonder about whether it’s cheaper to repair or replace a washer before investing in a fresh installation, and that comparison is worth reviewing first.
How Much Does Washer Dryer Installation Cost in Santa Rosa?
Installation pricing varies based on complexity. In general, a straightforward electric washer and dryer hookup costs less than a gas dryer conversion or a stacked unit setup that requires new venting. Homeowners in Santa Rosa should expect a wider range when older homes need updated electrical or plumbing connections.
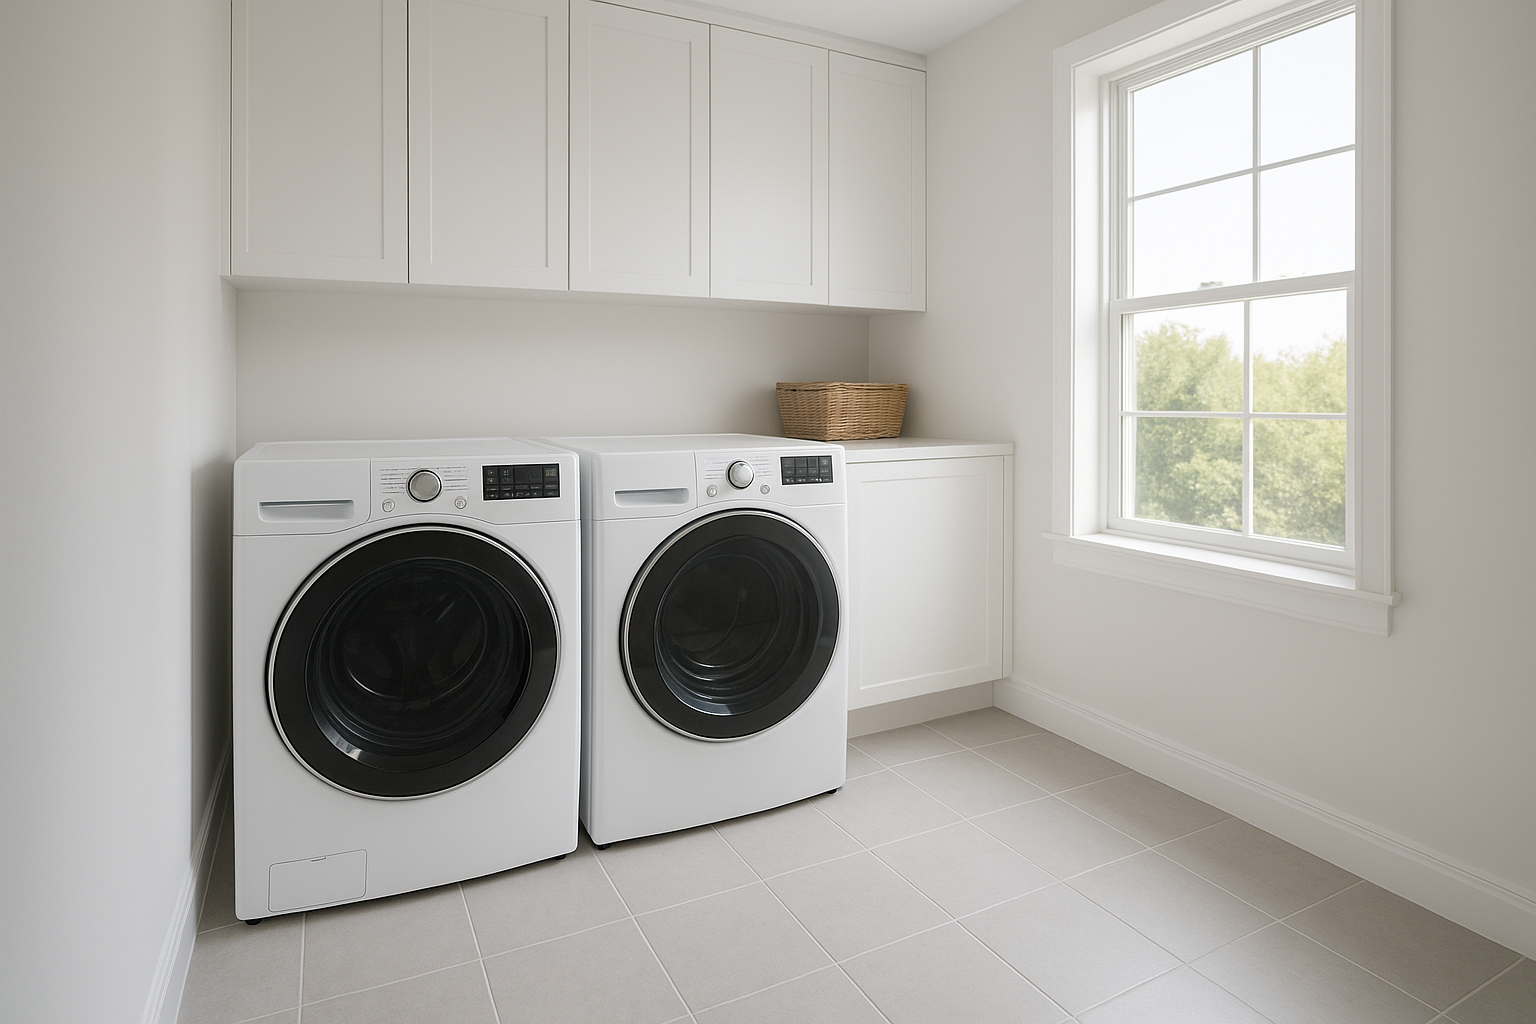
A properly finished washer dryer installation should look clean, level, and free of exposed hoses.
Factors that influence the final price include the distance from utility hookups, whether a stacking kit is needed, and whether old appliances must be hauled away. For homeowners comparing options, washer and dryer appliance service in Santa Rosa often bundles installation with a same-day inspection, which can catch small issues before they become expensive repairs.
DIY vs Professional Laundry Appliance Installation
Doing the job yourself can save on labor costs, especially for a simple electric dryer swap. Nevertheless, gas connections, tight laundry closets, and stacked configurations raise the difficulty considerably. A licensed technician brings experience spotting worn valves, incorrect voltage, or vent runs that are too long to work efficiently.
On the other hand, professional service typically includes a safety check, a level test, and disposal of packaging or old units. Consequently, many homeowners find the added cost worthwhile, particularly when a warranty or insurance claim later depends on documented professional setup. For appliances that are already struggling before a move, reviewing whether repairing a washing machine is worth it can help decide if reinstalling the old unit even makes sense.
Signs You Need Help With Washer and Dryer Setup
Certain warning signs suggest a job is better left to a professional. These include:
- Persistent leaks near hose connections after tightening fittings.
- A washer that rocks or walks during the spin cycle despite adjusting the feet.
- A dryer that runs hot to the touch or takes noticeably longer to dry loads.
- Any need to convert from electric to gas, or to stack previously unstacked units.
- Uncertainty about local electrical or plumbing code requirements for new construction.
If any of these apply, it is worth contacting a technician who also handles laundry appliance repair services, since installation problems often surface as repair calls within the first few months of use.
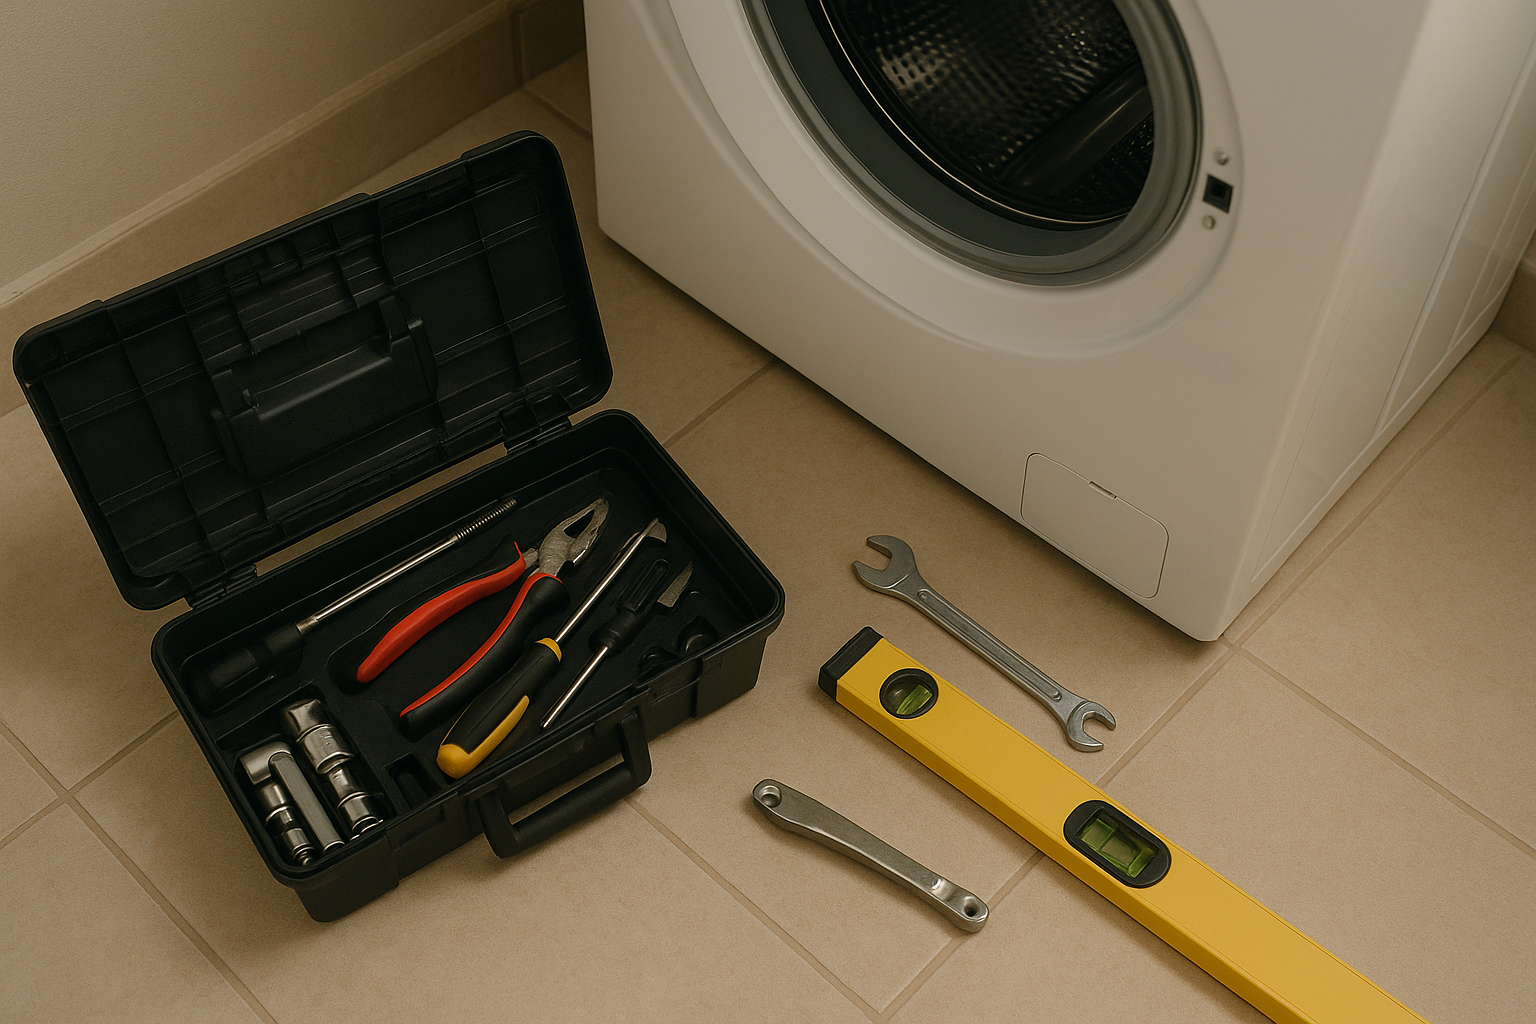
Having the right tools ready makes washer dryer installation faster and safer.
Frequently Asked Questions About Washer Dryer Installation
What is washer dryer installation?
Washer dryer installation is the process of positioning, connecting, and testing a washing machine and clothes dryer so they run safely in a home. It includes water lines, drain hose, power or gas hookup, and dryer venting.
How long does washer dryer installation take?
Most standard installations take between 45 minutes and two hours. Stacked units, gas conversions, or long vent runs can add extra time to the job.
How much does washer dryer installation cost in Santa Rosa?
Typical installation costs range from about 100 to 300 dollars per appliance in the Santa Rosa area, depending on hookup complexity. Gas dryer conversions or new venting work can raise the price further.
Can I install a washer and dryer myself?
Basic electric dryer and washer hookups are possible for handy homeowners. However, gas connections, venting, and leveling are easy to get wrong and are safer left to a licensed technician.
Why does a dryer vent matter during installation?
A poorly vented dryer traps lint and moisture, which raises fire risk and reduces efficiency. Proper venting during washer dryer installation keeps airflow clear and shortens drying times.
Do washers and dryers need a dedicated electrical outlet?
Yes, most electric dryers require a dedicated 240-volt outlet, while washers typically use a standard grounded 120-volt circuit. Sharing circuits with other appliances can trip breakers or cause damage.
What is the difference between gas and electric dryer installation?
Electric dryer installation only needs a proper outlet and vent, while gas dryer installation also requires a gas line connection and a leak check. Gas setups generally take longer and cost more.
Can a washer and dryer be stacked in any laundry closet?
Not every closet supports stacked units. The space needs enough height, a compatible stacking kit, and clearance for venting and water lines.
What common mistakes happen during DIY washer dryer installation?
Common mistakes include skipping the leveling step, kinking the vent hose, and using worn or mismatched water hoses. These errors often lead to leaks, vibration, or reduced dryer performance.
Is it worth hiring a professional for laundry appliance installation?
Professional installation is worth it for most households because it reduces leak and fire risk while protecting manufacturer warranties. It also saves time compared to troubleshooting a DIY setup.
How do I know my washer or dryer was installed correctly?
A correctly installed washer sits level with no rocking, while a dryer vents freely without excess heat buildup around the housing. No water pooling near hoses is another good sign.
Does moving to a new home always require new appliance installation?
Yes, appliances almost always need reinstallation after a move because hookups, vent lengths, and floor levels differ from house to house. Reusing old hoses without inspection is a common oversight.
What tools are needed for washer dryer installation?
Basic tools include an adjustable wrench, a level, screwdrivers, and a vent clamp kit. Gas installations also require a leak detection solution and proper fittings.
Final Thoughts
In summary, washer dryer installation involves far more than plugging in a new machine. From leveling and venting to water lines and electrical hookups, each step protects your home from leaks, fire risk, and premature appliance wear. Therefore, taking the time to follow a proper process, or hiring a technician who already knows the local codes, pays off through fewer repair calls down the road. For homeowners in Santa Rosa who want the job done correctly the first time, resources like Gold Ridge Appliance offer same-day help alongside honest, transparent pricing. Above all, remember that a careful washer dryer installation today is what keeps laundry day simple for years to come.
